
The Plan
I had been wanting to replace the home’s traditional copper plumbing with PEX. Copper pipes can develop mineral scale buildup over time, and since I could route the new PEX lines through areas protected from UV exposure, I felt it was a better option for the house.
The goal was to replace the existing copper water lines throughout the house with a more organized system that would also make future plumbing changes easier.
For the new system, I decided to use a Viega ManaBloc as the central distribution point. This would allow me to run individual PEX lines to each fixture throughout the house rather than relying on the traditional branching layout used with copper plumbing.
There was quite a bit more to this project than just replacing the water lines. I also wanted to add another floor drain in the utility room, install a drain connection for a future wash basin, and run plumbing for a separate sink elsewhere in the basement. I also planned to frame in the utility room to separate it from the rest of the basement. At the same time, I was starting to prepare for an upstairs bathroom project.
I didn’t have formal plans or drawings, but I had a pretty good idea of what I wanted and where everything would eventually go. My goal was to get as much of the groundwork done as possible while I was already working in these areas. I didn’t want to end up cutting into the concrete a third time or tearing into finished plumbing to make changes later.
After: The Finished Plumbing System
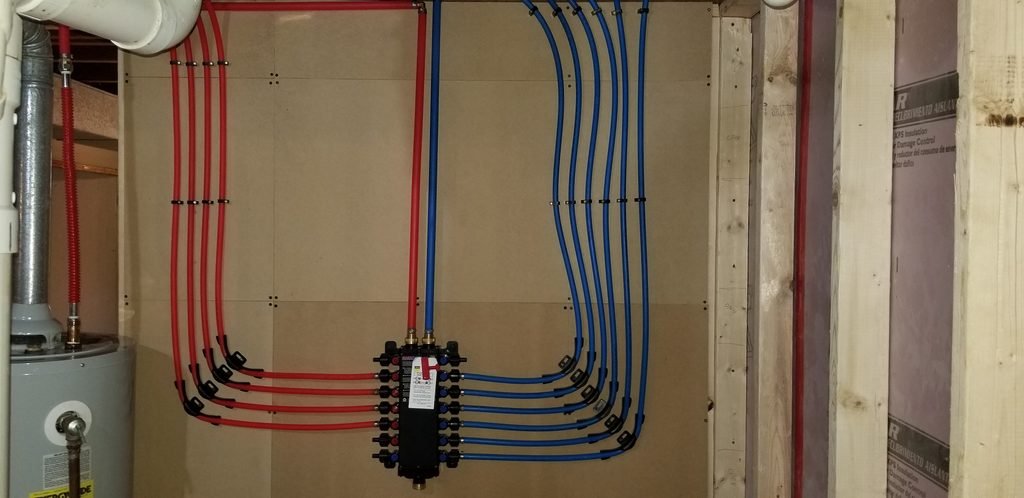
The finished system brought all of the home’s water lines together at the Viega ManaBloc. From here, individual PEX lines run to the fixtures throughout the house. It also left room for future connections as I continued planning additional projects.
Cutting Into the Concrete
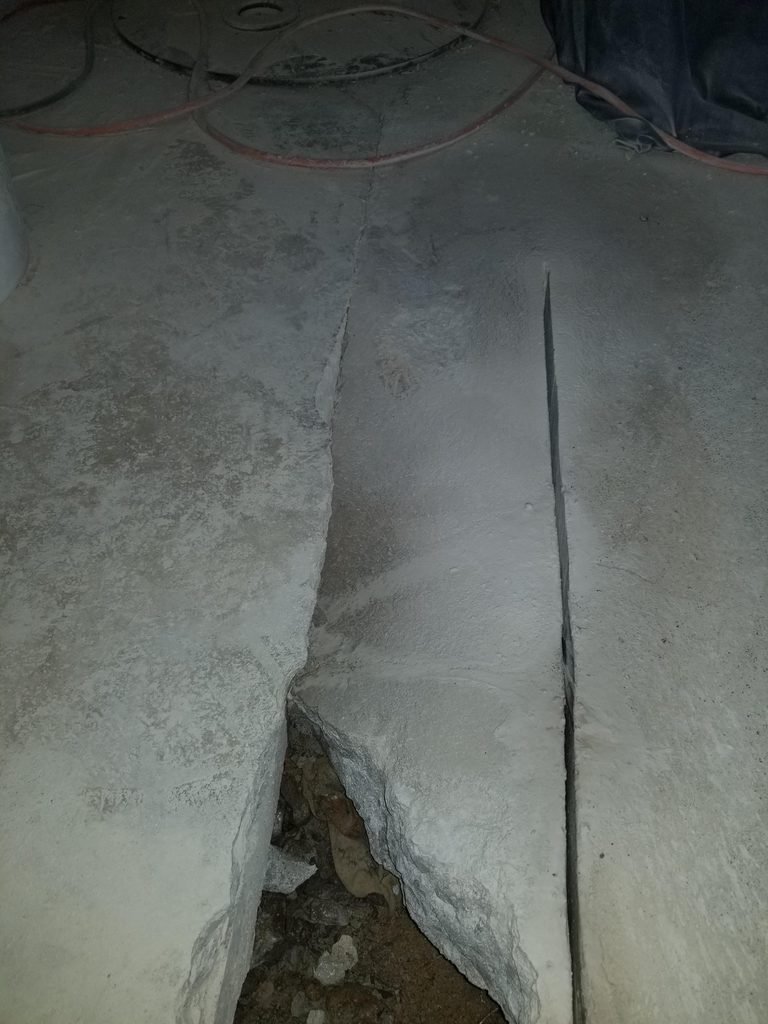
I started by cutting a trench in the concrete, much like I had done during the basement bathroom addition. I knew this job would eventually require more than just a narrow trench, though. I would need to open up a larger area to access and tie into the existing sewer line again.
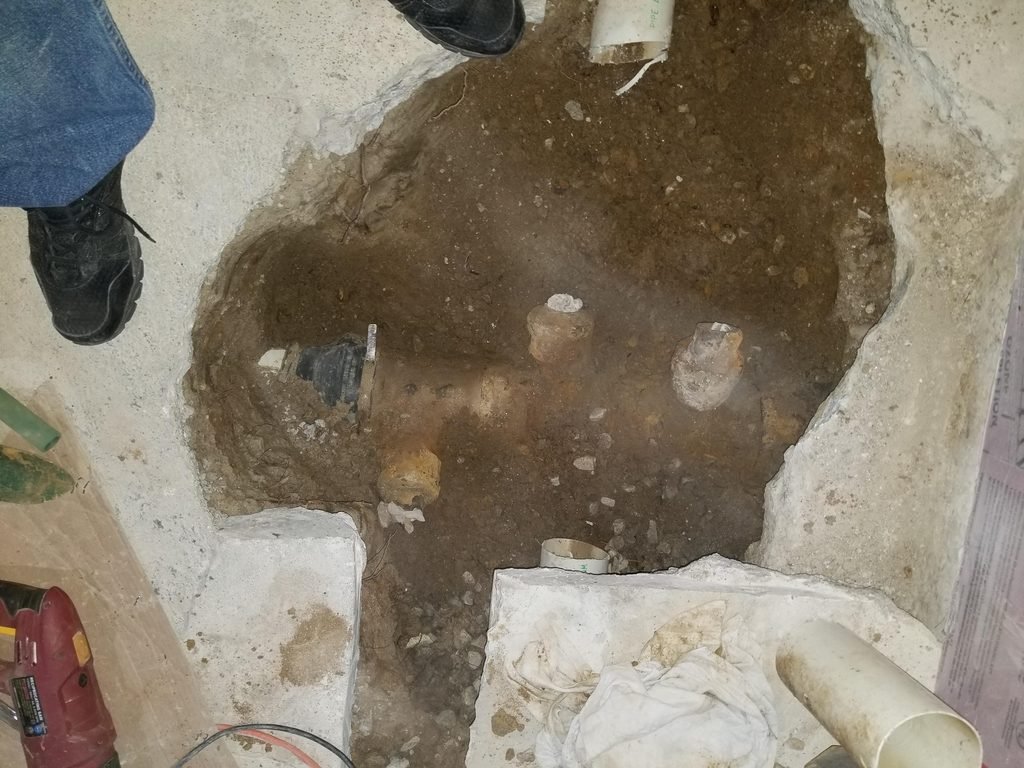
Once I opened up the area, I could see the full section of concrete that needed to be removed to reach the existing sewer line. I also had to cut out a portion of the French drain running underneath the concrete. That section would need to be repaired after I finished making the new sewer connections.
Relocating the Washer and Dryer
While working on the plumbing, I shifted focus to another part of the project. Ever since the basement bathroom addition, I had been planning to move the washer and dryer from their existing location to the utility room.
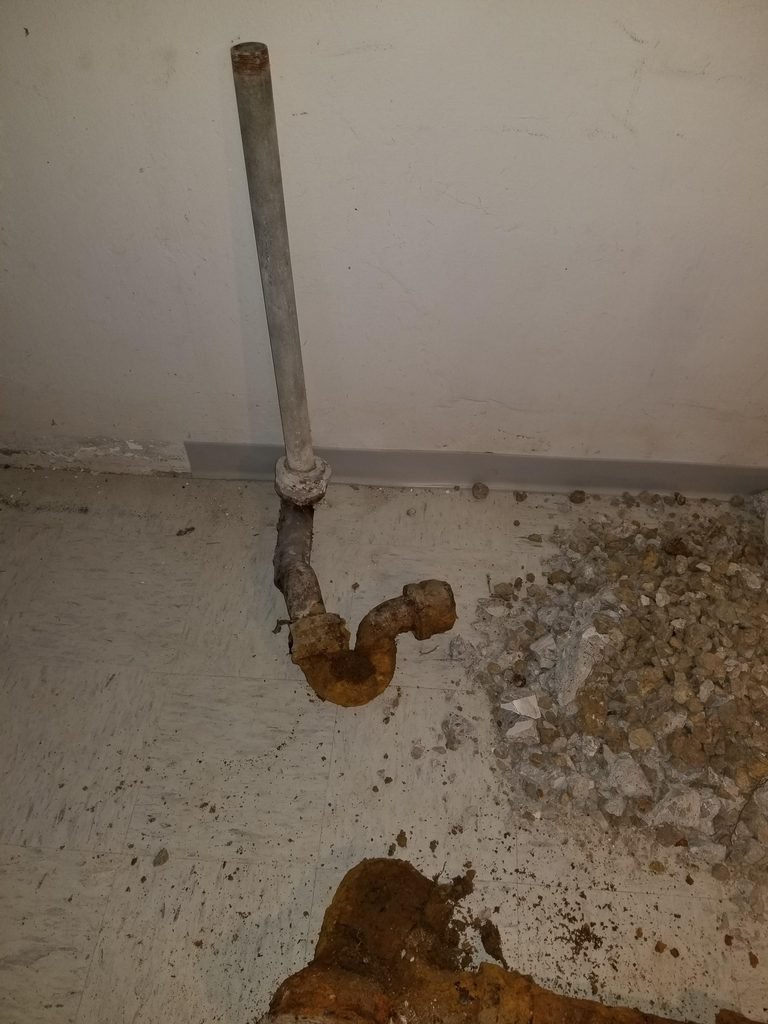
I removed the old copper water lines that supplied the washer and moved both appliances into the utility room. I left them disconnected for the time being until the new PEX water lines were installed.
Tying Into the Existing Sewer Line
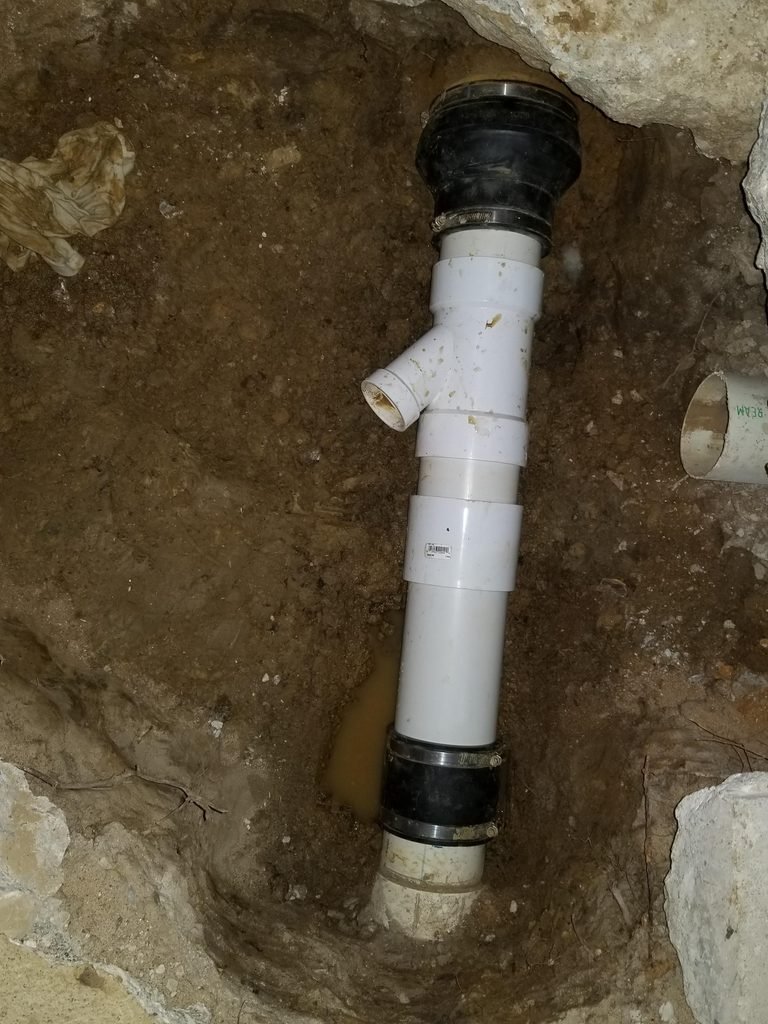
I cut out the old connection and tied the new plumbing into the existing line using rubber couplings. I also added a Y fitting to connect the new utility room floor drain and the future wash basin drain stub-out.
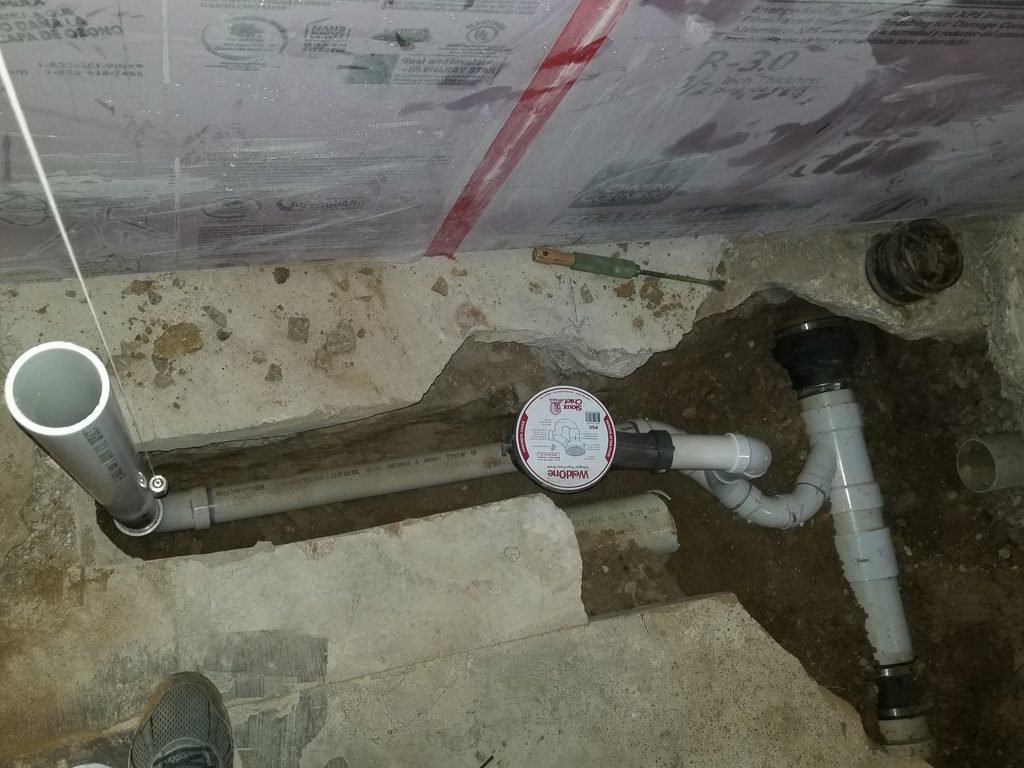
I completed the connections for the new floor drain and the future wash basin drain stub-out.
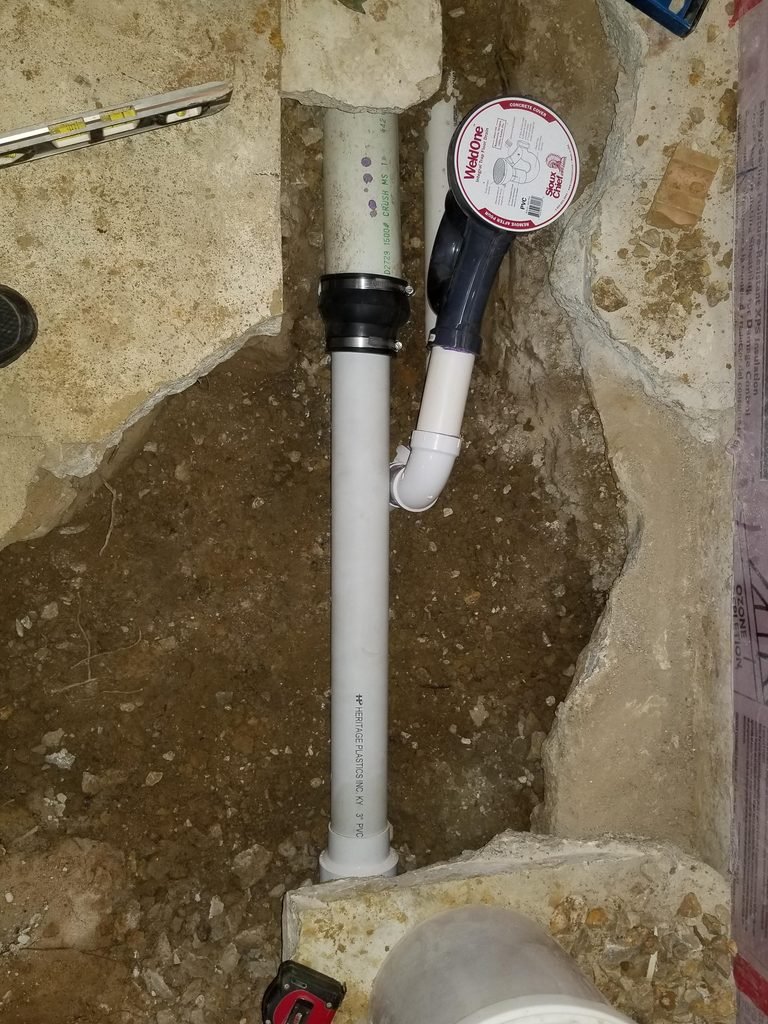
I also reconnected the section of French drain that I had cut out earlier.
Backfilling and Patching the Concrete
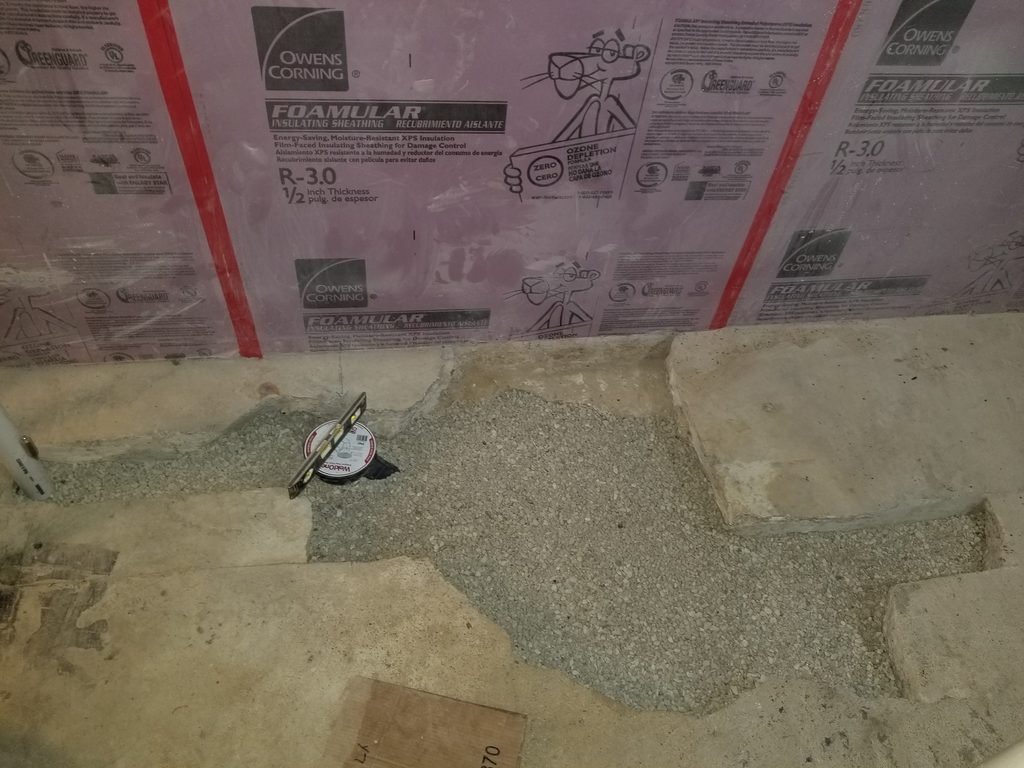
After making the new sewer connections and reconnecting the French drain, I backfilled the area with sand and gravel.
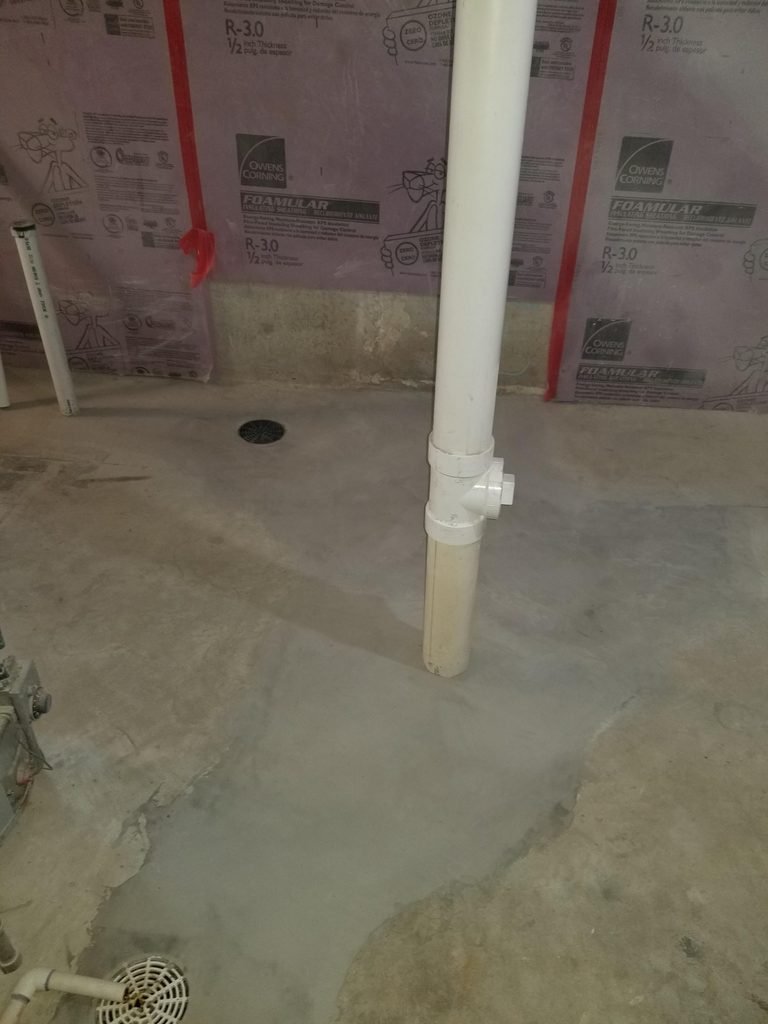
I left the vertical drain stub-out in place for the future wash basin. Before patching the floor, I also removed a section of foam insulation along the foundation wall so I could bring the new concrete flush with the wall.
Framing the Utility Room
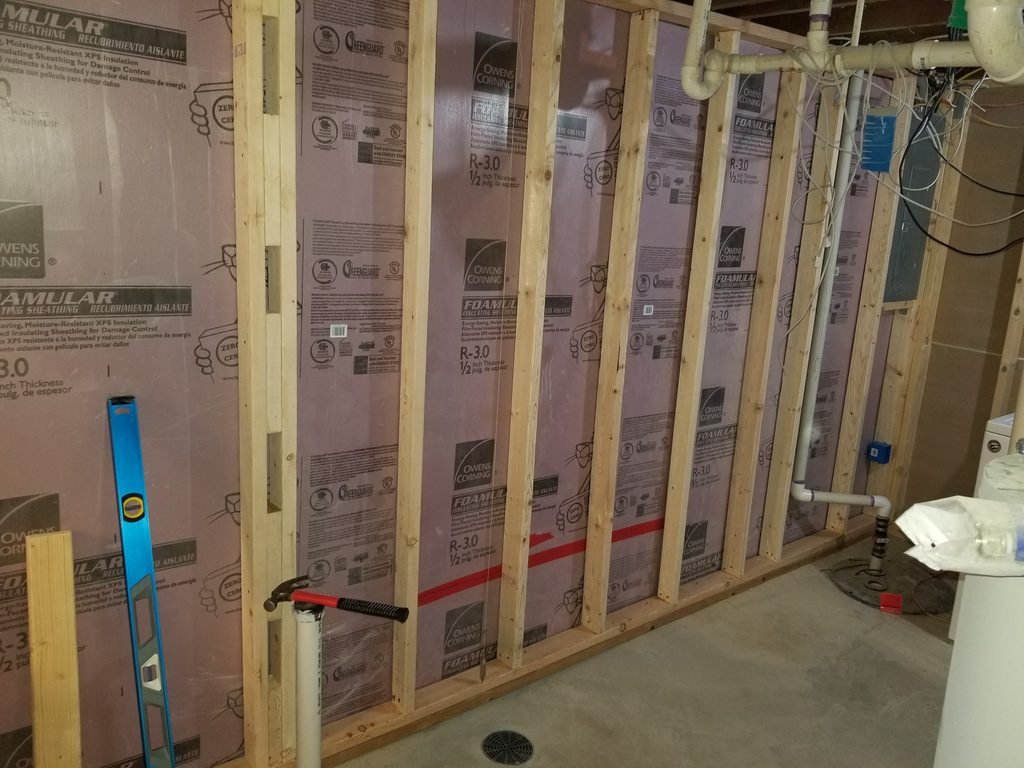
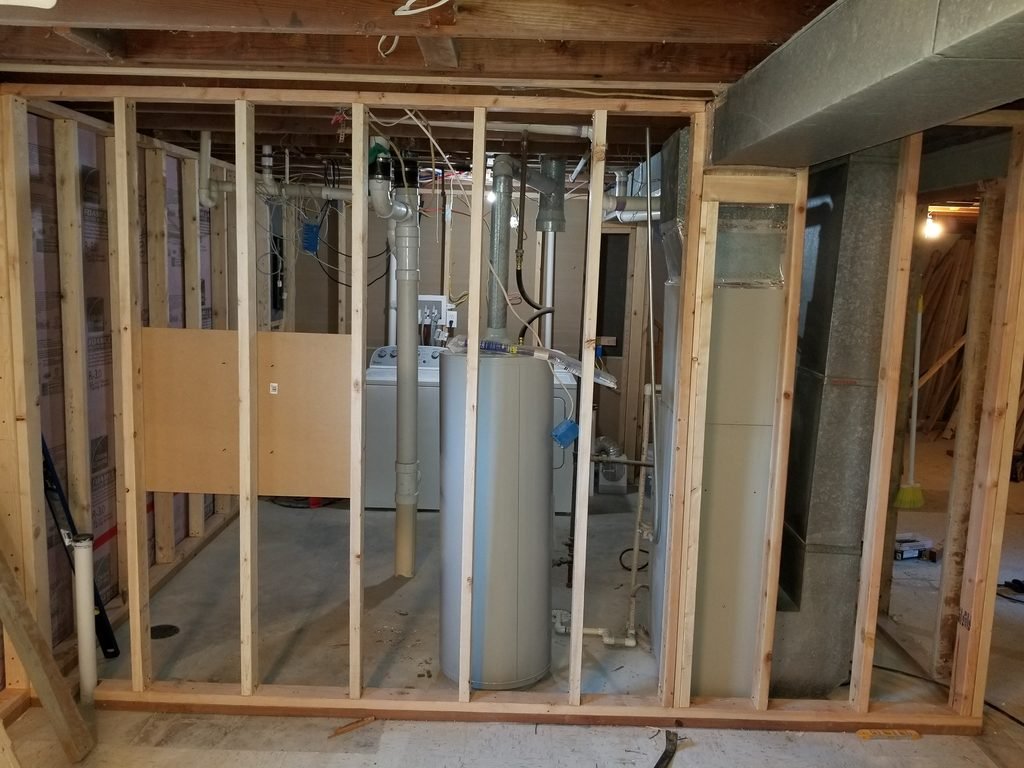
With the underground plumbing work finished, I started framing the utility room to separate it from the rest of the basement. I framed along the insulated foundation walls and around the existing equipment and utilities, laying out the space that would eventually house the new plumbing distribution system.
Installing the ManaBloc and Running PEX
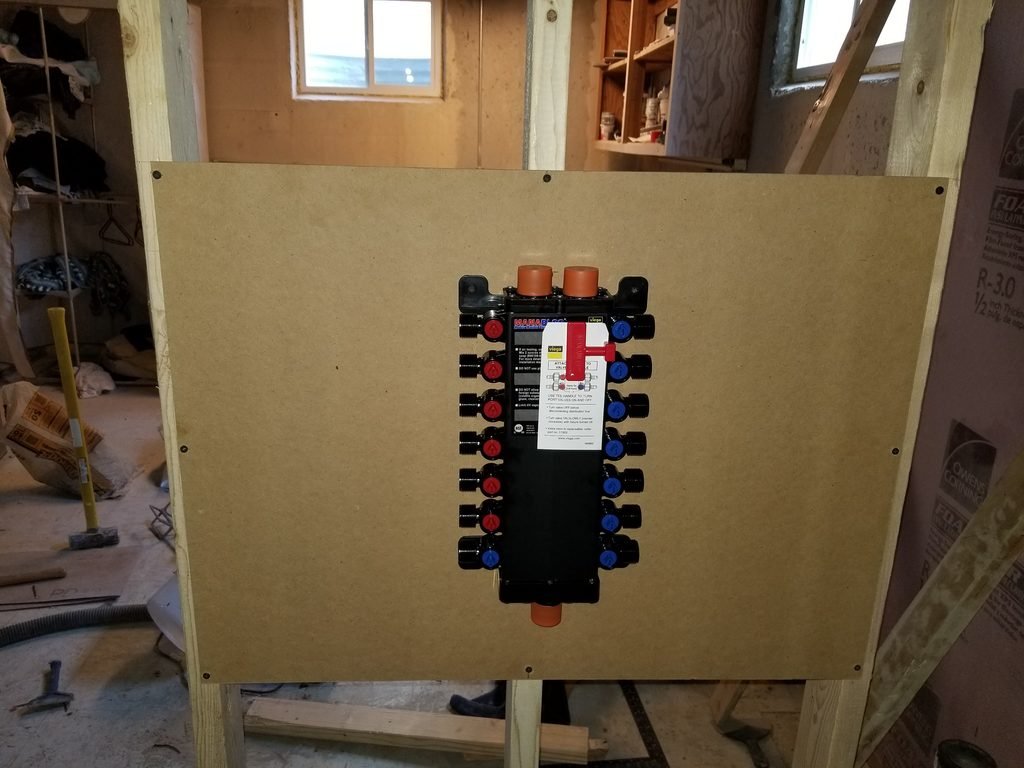
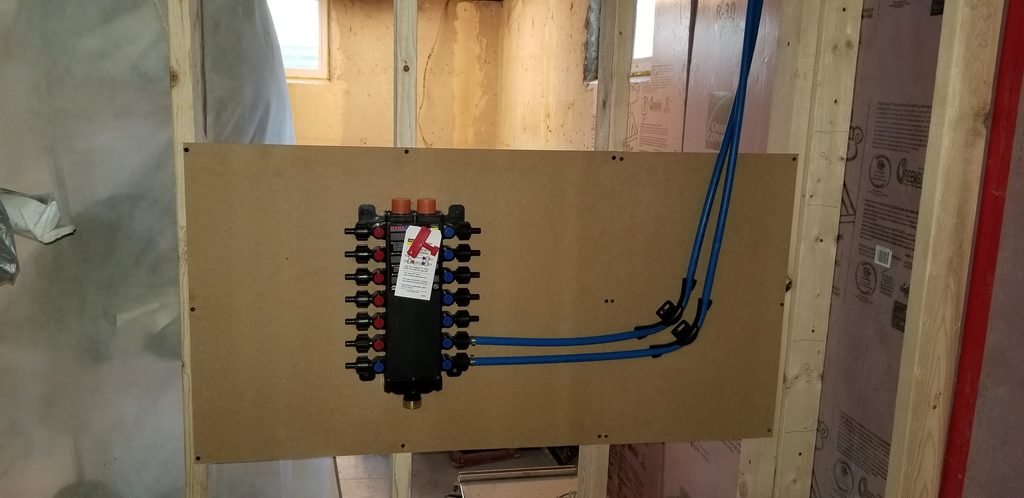
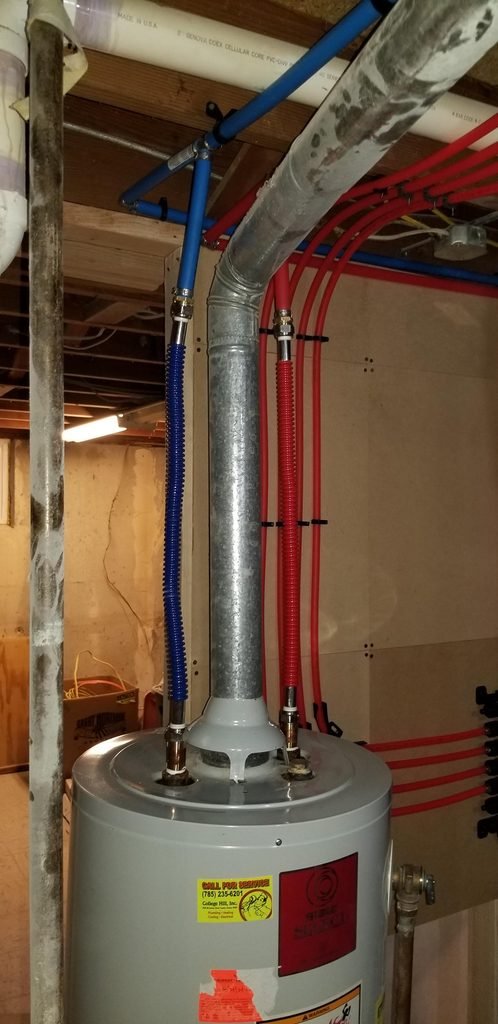
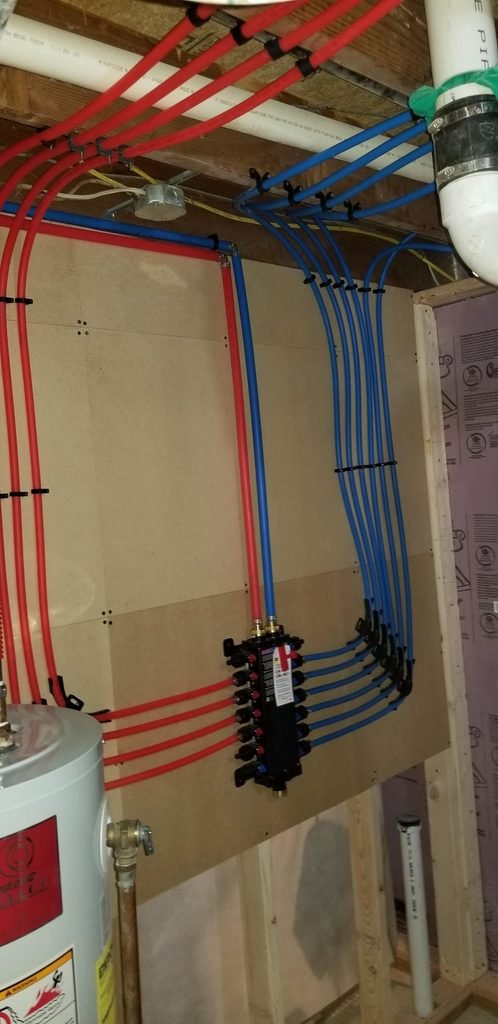
With the utility room framed in, I mounted the Viega ManaBloc to a plywood backer on the new wall next to the water heater. This gave me a central location for the new water distribution system and room to organize all the individual lines.
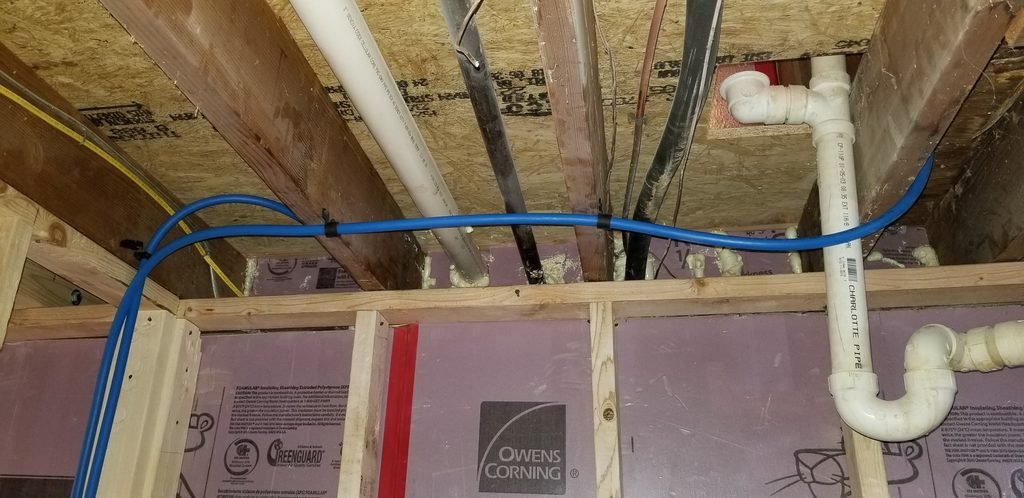
I started making the connections at the ManaBloc, crimping the PEX fittings and running new hot and cold water lines to the existing fixtures throughout the house. As I worked through the house, I removed the old copper lines and replaced them with the new PEX runs. The red and blue tubing made it easy to distinguish hot from cold and keep the lines organized.
I also added stub-outs for future connections, leaving room to expand the system as other projects moved forward.
What I Would Do Differently Today
I should have added this drain connection when I originally had the plumbing exposed during the bathroom addition. Instead, I ended up having to cut into the concrete all over again. It’s one of those things I should have planned for sooner, especially knowing I would be making additional plumbing changes down the road.